
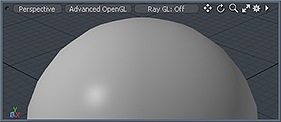
 The initial vertex normal map applied. | 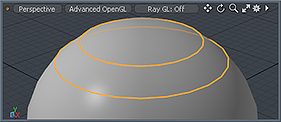 An edge selection defined. | 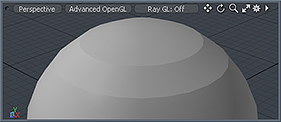 The resulting split vertex normals. |
The 'Split Vertex Normals' command allows users to modify a vertex normal map, creating a hard and/or soft transition edges between polygons based on edge selections. The command first requires users to create a 'Vertex Normal Map' if one isn't already present. This is done with the 'Set Vertex Normals' command found in the menu bar under "Vertex Map > Set Vertex Normals". This will essentially freeze the smoothing values for the item as it is displayed in the 3D viewport. Prior to assigning the map, users can adjust the Smoothing Angle in the Material Item of the Shader Tree. Once the map is assigned to a surface (by being created), its values supersede those of the Material Item, and will need to be edited manually. The Vertex Normal Map is located in the 'Other Maps' section of the 'Lists' palette.
Usage
With a Vertex Normal Map present, users can simply select a series of edges meant to define the hard surface transition and then apply the command found in the 'Edges' subtab of the toolbox. Pressing the 'Split Normals' button in the toolbox will open the following dialog.

The 'Normal Map' option should list the target Vertex Normal Map, called "vert_normals" by default. The level value determines the amount of hardness added to the edge. 100% will make a fully hard edge, a value of 0% will not adjust the value at all, and a value of -100% will be required to take a hard edge and make it a soft edge.

