
Channel Haul: The Channel Haul tool allows the adjustment of any selected channel by dragging with the mouse in the active viewport.
To activate Channel Haul, choose a channel within the 'Channels' viewport, and invoke the 'Channel Haul' tool button or use the 'C' keyboard shortcut. This brings up the 'Channel Haul' tool interface within the 3D viewport. By clicking on the channel name and dragging the mouse, users can interactively adjust the value within the viewport, or by clicking the value itself, users can numerically enter a new value. The channel haul tool can modify up to 6 chosen channels.
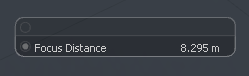
When no channel is selected, the display reflects this reminder that the tool is still active.

Center to Bounding Box: Each mesh item in MODO, regardless of shape, has a virtual rectangular bounding box which is defined by an items overall size (height, width and depth). The 'Center to Bounding Box' command allows the user to easily position an items center to a specific position of that bounding box.
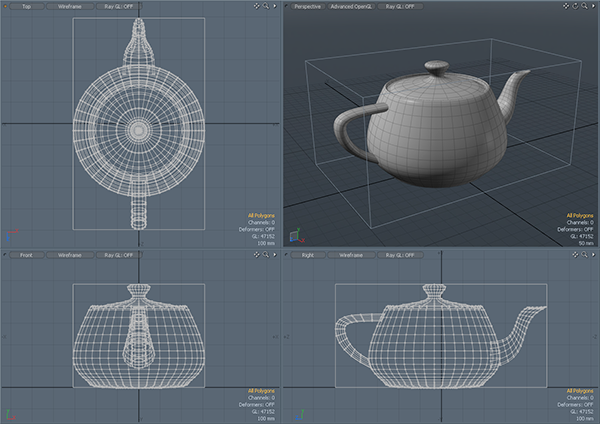
Found in the menu bar under "Edit > Center to Bounding Box", users can invoke the various commands to precisely position the 'Center' element in relation to the geometry contained in the layer.
Center: Positions the items Center element at the very center of the bounding box itself (as opposed to the world origin)
Top/Bottom/Left/Right/Front /Back: Positions the items Center element at the center of the plane that defines that particular surface of the bounding box volume.
Pivot to Bounding Box: Found in the menu bar under "Edit > Pivot to Bounding Box", users can invoke the various commands to precisely position the 'Pivot' element in relation to the geometry contained in the layer. Working in identical fashion to the 'Center to Bounding Box' commands, however only the Pivot is moved, leaving the 'Center' element unchanged. For information ragarding the use of 'Centers' and 'Pivots, please referecne the Animation Overview page of the documentation.
Center: Positions the items Pivot element at the very center of the bounding box itself (as opposed to the world origin)
Top/Bottom/Left/Right/Front /Back: Positions the items Pivot element at the center of the plane that defines that particular surface of the bounding box volume.
Baking is a mean of 'freezing' the affects of a constraint on an items over time so that, when removed, the item retains the modifications. This can be useful for exporting animation out of MODO, or in cases such as network rendering, where pre-evaluated transforms would reduce the possibility of errors. Baking can also be used to convert cached Dynamics for Rigid Bodies to individual keyframes.
To use, select one or more items that are affected by a constraint/channel modifier/dynamics and then select the 'Bake...' option found under the 'Animate' menu of the menu bar. When selected, the following dialogue will open. Once the desired values are assigned, click 'OK' to actually 'Bake' the target keyframes out.
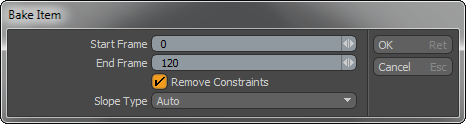
Start/End Frame: Defines the frame range to convert the procedural values on to keyframes.
Remove Constraints: When 'Remove Constraints' is enabled, the constraints driving the item will be removed, at the completion of the bake process and the item will solely use the baked keyframes for it's motion.
Slope Type: Users can define which type of Slope will be assigned to the resulting keyframes, 'Auto', 'Stepped' and 'Flat'. The slope defines the type of interpolation between keyframes. More information on this can be found in the Graph Editor viewport documentation.

