
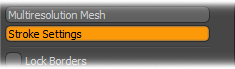
Users can open the 'Stroke Settings' options palette from the button toward the bottom of the Sculpting toolbox within the 'Paint' interface tab. By LMB+clicking on the 'Stroke Settings' button, a pop-up opens with options to control the way sculpting brush dabs are applied to the surface.
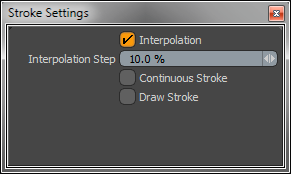 Interpolation: When the option 'Interpolation' is enabled, modo will add additional sample points and filter out small variances in pressure and position resulting in smoother sculpting strokes.
Interpolation Step: Generally, paint strokes are not a continuous lines, but a series of dots or dabs places on the canvas. This option defines the distance between each dab as a percentage of the brush size. By default, this value is set to 10%. So for an 80 pixel sized brush, dabs would be placed every 8 pixels (10% of 80 = 8). Users can increase or reduce this value for a variety of effects. Increasing it toward 100% will
Continuous Stroke: When this option is enabled, modo will continuously draw a stroke like a line, instead of as individual dabs. modo will draw the stroke as a linear segments between each interpolation step dab so increasing the scale of the interpolation steps will reveal the linear nature of the continuous stroke option.
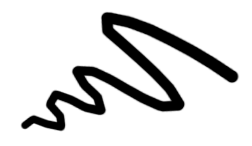
Draw Stroke: When enabled, this option simply draws a line in the interface defined by the path for the brush stroke.
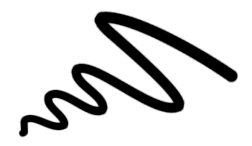 Default 10% 'Interpolation Step' produces smooth stroke |
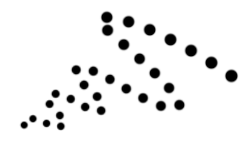 Interpolation Step set to 200% reveals individual dabs |
 200% Interpolation Step with Continuous Stroke enabled |
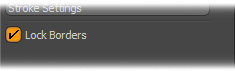
Located in the 'Paint' interface tab at the bottom of the sculpting toolbox, the 'Lock Borders' option when enabled, will lock the position of any open edges, making them immovable by the sculpting tools. While having a variety of uses, this function is mostly useful for sculpting on a mesh where the edges will need to seamlessly meet up with another mesh. Simply LMB+click the checkbox to toggle.
Open edges can be easily highlighted by selecting all the geometry in a layer (Alt+Shift+A) in 'Polygons' mode, then press and hold 'Ctrl', which changes the 'Edges' mode button to the 'Boundary' button, LMB+click the Boundary option to highlight all open edges in the selection. If no edges are visible, then the geometry has no open edges and is considered water-tight.
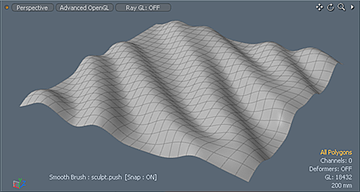 'Lock Borders' disabled during sculpting. |
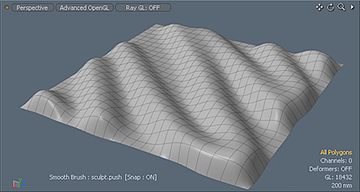 'Lock Borders' enabled during sculpting. |

