
All surfacing in modo begins with Polygon Tags, which are simply user defined labels associating any number of polygons together as a group. Though the various tags serve several purposes, they act mainly as a means of generating shader tree masks for applying various material attributes to specific surfaces in a scene, in other words, polygon tags are the main component in applying surfacing to the geometry in a scene. The main tag type to facilitate this is a 'Material' tag, additionally 'Parts' and 'Selection Set' tags offer additional functionality for layering materials for different effects. Users should note that 'Material' and 'Part' tags are mutually exclusive, meaning a polygon can only belong to a single material or part tag, while polygons can belong to any number of 'Selection Sets'.
Assigning Material Tags
When rendering in modo, all surface and shading attributes are processed via the 'Shader Tree' to produce the final result. When creating a new scene in modo, you may have noticed it always contains a 'base material' and a 'base shader' item. Modifying any value of either item will affect the entire scene. That's because the shader tree works independent of the geometry with each layer acting like a blanket covering every surface in the scene until it has been instructed to limit itself to a specific surface with a mask. Material tags are the simplest means of generating these types of masks, users don't need to think about the mask itself, as they are generated automatically, but it is an important concept to understand for modo's shading system. Lets go over how to assign a material tag.
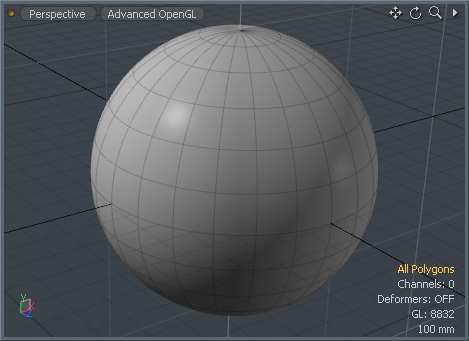
In order to assign a tag, you will need some geometry in the scene. Here I have created a default 1 meter sphere.
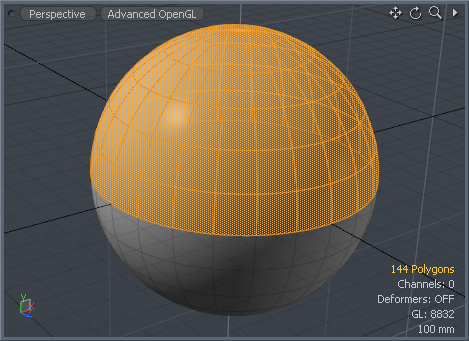
In 'Polygons' mode, select the polygons you wish to apply the material tag to, here I have selected the upper half of the sphere.
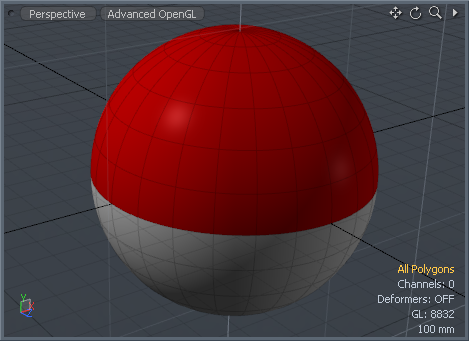
Select the menu bar command "Texture > Assign Material Group" or press the 'm' keyboard shortcut to open the 'Polygon Set Material' dialog box. Here you define the 'Name' of the tag as well as set some basic surfacing attributes. Additionally, you have the option to set any material tag as the default value within this dialog box. Here I have chosen a red color and named my surface 'Sphere Top'.

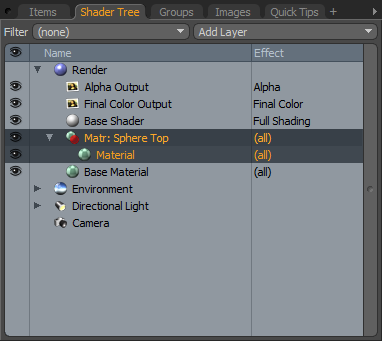
Once you have modified the values to your liking, LMB-click the 'OK' button or press the 'Return' (Enter) key on the keyboard to assign the material to the selection. In doing so, you can see that a group item "![]() " was added to the shader tree with a new material item "
" was added to the shader tree with a new material item "![]() " associated to it. If you can't see the material item, click the arrow widget "
" associated to it. If you can't see the material item, click the arrow widget "![]() " next to the named material group to make it visible. Now any any changes made to this new material item will be limited to only polygons in the scene with the tag 'Sphere Top'.
" next to the named material group to make it visible. Now any any changes made to this new material item will be limited to only polygons in the scene with the tag 'Sphere Top'.
You can continue recursively adding additional material tags to define all the various surfaces in a scene in the same way, just remember that a polygon can only have a single material tag at a time, so if you accidentally assign a second material, it will overwrite the previous value. To fix this, simply select the offending polygon(s) and reassign the previous tag. If you wish to layer materials that require additional selection groups (such as a label onto a bottle of wine), users can define these groupings through the addition of 'Part' tags and 'Selection Sets'.

TIP: In complex scenes, users should consider a strategy for assigning material tags to the various surfaces. Descriptive names are often better than cryptic ones. Consider the case of a car model. One naming scheme might title materials based on their type, such as "Glass", "Rubber", "Leather" and "Chrome", or by what the item itself is; "Windshield", "Tire", "Seat" and "Bumper". Both are much better than "Upper Front", "Inside", "Lower Left" and "Underside" because when you hand off a file or return to it at a later date, the descriptive names will still make sense.
Parts work in a similar fashion to 'Material' tags offering an additional means of defining polygon groupings. Parts can be a useful way to define additional surfacing layers in the shader tree, especially in cases where the surface layer spans across two or more material tags boundaries. They can also be useful when exporting geometry to other applications. Parts can be easily defined in the following manner.
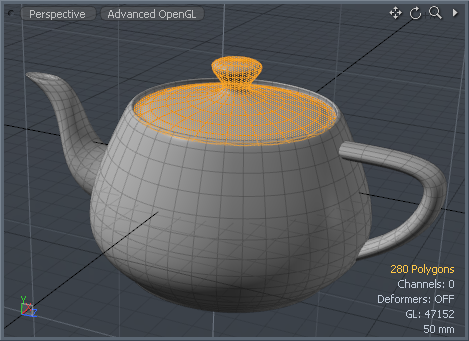
In 'Polygons' mode, select the geometry you wish to assign the part tag to, in this case the lid of the teapot.
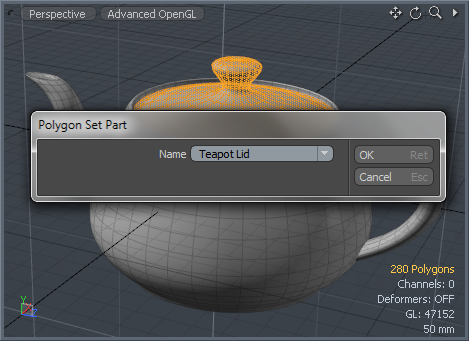
Select the menu bar command "Geometry > Polygon > Set Part..." to open the 'Polygon Set Part' dialog box. You can assign a new name or use the drop down context menu choose an existing part tag from the list. LMB-click the 'OK' button or press the 'Return' (Enter) key on the keyboard to assign the Part tag to the selection.
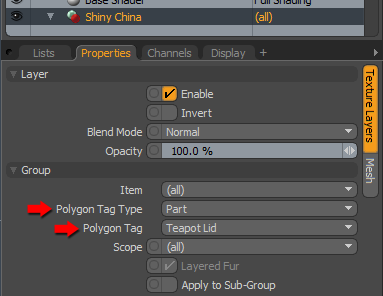
Once applied, part tags can be recalled in two ways. If you create a shader tree group item, within its properties panel, one can define the 'Polygon Tag Type' as a 'Part', and in the 'Polygon Tag' drop down menu, select the a part you defined in the previous step. When defined in this way, the affect of any shader tree items added to this group would be confined to the polygons grouped by the tag, masking the layers in the same manner as a material tag.
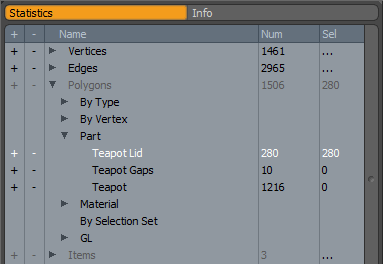
The second way to recall a 'Part' is to use the 'Statistics' viewport panel under the 'Lists' tab. Within the viewport, under the "Polygon > Part" section, users can recall part selections by using the +/- buttons in the left column of the panel. Here I clicked on the '+' symbol to activate the 'Teapot Lid' selection. Pressing the '-' button would deselect any polygons that contained that tag.
TIP: Users can add tags to curve elements in the same way that tags are added to polygons. Simply select the Curve itself while in 'Polygons' mode and apply the tags as demonstrated above. This can be useful when defining alternate/additional guides when styling a 'Fur' layer.

