
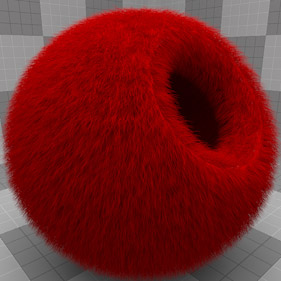
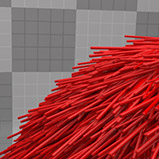
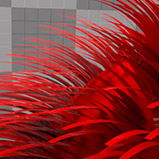
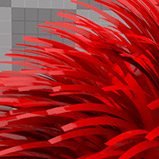
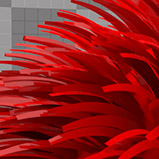
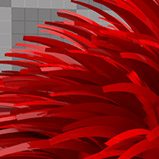
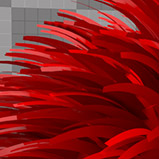
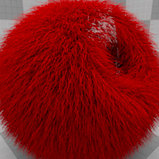
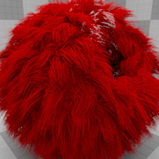
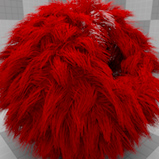
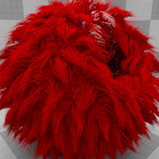
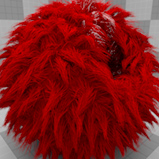
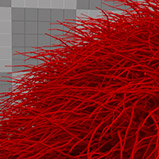
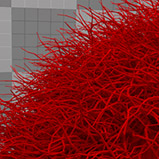
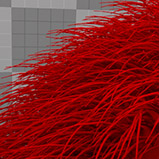
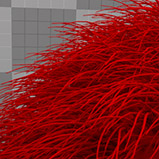
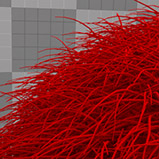
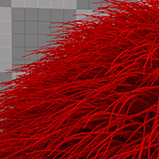
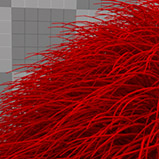
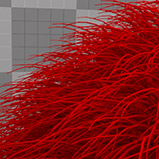
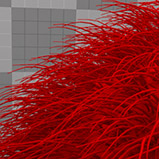
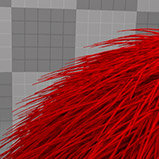
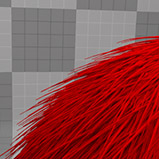
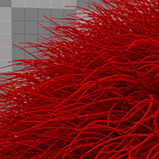
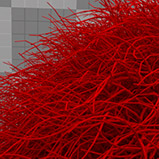
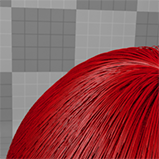
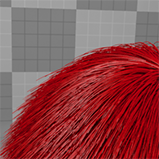
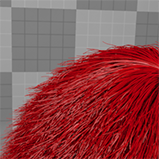
Endless fields of well manicured lawns, small woodland creatures, shag carpeting and werewolves - what do these all have in common? Why of course they are all possible with modo's fur material. This flexible texture layer covers surfaces with all manner of fuzzy, frazzled, fluffy, fibrous fur. The various functions provided should allow for a great range of creative options, including the ability to recreate tame or wild lawns, all manner of fibrous carpeting, little fuzzy animals, maybe even cover a conifer with pine needles. Best part is, modo still renders all of these fibers with amazing speed, even using global illumination.
For information regarding adding and working with Shader Tree Items Layers, please reference the the Shader Tree page of the documentation. Additionally, there is a 'Working with Fur' page that covers additional information regarding the use of fur in modo.
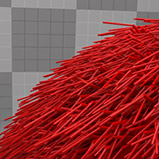
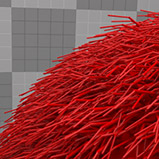
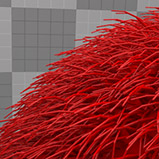
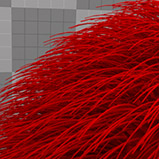
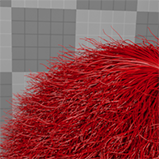
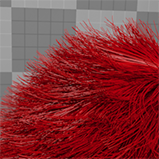
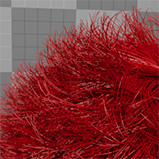
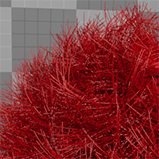
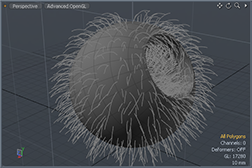 Once a fur layer is added, the first thing users may notice are the lines extending from the object or surface. They may be long or short depending on the objects scale, don't worry though as they can be adjusted later. Users can't select these lines, they're only meant to represent the fibers now growing from the surface, providing a convenient preview of how fibers will look when rendered. As users make changes in the material properties, the guides update in real time in the viewport. There are a number of options available in the properties panel that are broken into two tabs, the 'Fur Material', where you specify the settings for the fibers density, size and shape as well as how they render, and second tab, the 'Fur Shape' controls where you adjust the fibers themselves, if they are curly or straight, wavy or limp. There are also options to control your fur with guides that can be styled with modo's painting tools (covered on the 'Working with Fur' page).
 Fur Material
Render Density: The 'Render Density settings allows the user to easily adjust the density or overall number of fibers on the surface, increasing this value will increase the number of fibers creating a thicker matte, while lower values will thin the number of overall fibers. This only affects the number of fibers that are rendered. Keep in mind that increased numbers of fibers will require more memory to calculate and take longer to render.
Random Seed: The 'Random Seed' value is an initial setting used when generating random numbers. Different values will produce different random variations, however you will want to use the same 'Seed' value when it is necessary that items retain the same variations.
Dimensions--
Spacing: The 'Spacing' value sets the average space between individual fibers. Smaller values will result in thicker, more dense fur, while larger values result in thinner fur. This setting works in tandem with the Width percentage in specifying the thickness of the fiber itself.
Length: The 'Length' value sets the overall length of the fibers from their root to their tip.
Automatic Sizing: The 'Automatic Sizing' command will set an initial value for your furs spacing, and length based on the size of the fur surfaces bounding box. Calculated as the spacing of 0.5% percent of the surface bounding box maximum extent, (the maximum length of the bounding box diagonals). The fur length is then 10 times that value. This should only be considered a starting point.
Width: The 'Width' amount sets the width or thickness of the individual fibers at their root. It is a percentage of the Spacing value, So lets say if you have a spacing of 10mm and the Width is set to 10%, the fibers would then be 1 mm wide at the root; 50% would make them 5 mm and so on.
Taper: The 'Taper' value allows the user to narrow the width of individual fibers over their length. A value of 0% would produce fibers that were equal in thickness at the root and tip, while a value 100% would produce tips with no thickness effectively making each fiber a long cone.
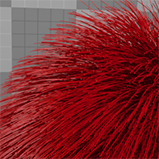
 Fur Taper 0% |
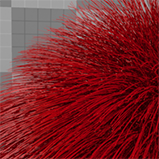
 Fur Taper 25% |
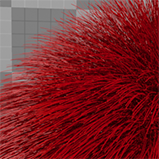
 Fur Taper 50% |
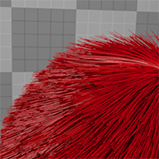
 Fur Taper 75% |
 Fur Taper 100% |
Offset: The 'Offset' value pushes the root of the fibers away from the surface the specified distance. Fibers will retain their overall length.
Geometry and Shading--
Billboards: The 'Billboards' option provides users an easy way to set up billboard polygons, distributing flat simple polygon planes across a suface. When images are mapped to the planes, it can easily be made to look more complex than their shape would suggest. Generally, the Billboard setting is set to 'Off' and has no effect on the fibers. When set to the other options, their setting override to 'Type', 'Taper' and other settings providing one-click setup of these popular functions.
Off- Disables the billboard option.
Trees- Replaces each fiber with a flat, upright simple polygon plane that always faces the current render camera.
Leaves- Replaces each fiber with a flat simple polygon plane.
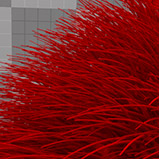
Type: The 'Type' drop down allows the user to specify the method modo uses to generate the fur fibers. 'Cylinders' are like tiny tubes, great for fur and hair, while 'Strips' are flat planes, these are great for making grass among other thing.
 Type Cylinder |
 Type Strip |
Max Segments: Just like how a curved surface requires more polygons to produce a smooth effect, increasing the 'Max Segments' will produce smoother curves to generated fibers, but setting this value too high can result in an increase in memory usage and processing time required to calculate the fur layer. You can get away with using fewer segments on fibers that bends only slightly, however long or curly hair will likely require more segments to produce a smooth result.
 Segments 1 |
 Segments 2 |
 Segments 3 |
 Segments 4 |
 Segments 5 |
Strip Rotation: This option is only effective when 'Type > Strip' is selected, as the 'Strip Rotation' value will randomly rotate individual fibers at their root. Increasing the value will increase the amount of rotation applied, up to 180 degrees at 100%. You can also change the direction using 'Jitter Direction' in the Fur Shape tab, the difference is that Strip Rotation will retain the same bend direction while Direction Jitter does not.
 Strip Rotation 0% |
 Strip Rotation 25% |
 Strip Rotation 50% |
 Strip Rotation 75% |
 Strip Rotation 100% |
View Frustrum Culling: Enabling 'View Frustrum Culling' completely removes fur outside the view of the camera. Overall this results in faster fur generation time and reduced memory usage. It is especially usefull on large landscapes covered with grass where a great deal of the fibers fall outside of the cameras view.
Adaptive Sampling: Enabling 'Adaptive Sampling' will decrease the density of a fur layer as it recedes away from the camera as based on the 'Fur Rate', reducing the overall memory required to calculate. To avoid popping as fibers disappear, enable 'Automatic Fading'.
Fur Rate: The 'Fur Rate' specifies the threshold that 'Adaptive Sampling' uses to reduce fibers, calculated as an average distance, in pixels, between two fibers. Adaptive Sampling and Fur Rate are best used on scenes like grassy fields or any situation where large amounts of fibers recede into the distance
Automatic Fading: 'Automatic Fading' works with 'Adaptive Sampling' by fading fibers in and out when they are created\destroyed by 'Adaptive Sampling'. This is ideal for animated sequences, the caveat being that render times will increase as semi transparent geometry takes longer to render.
Remove Base Surface: Fur takes it's color and shading information from the material of the surface the fur grows from. Therefore you end up with a green polygon with green fur growing from it. 'Remove Base Shader' will make that base polygon invisible, like setting the Dissolve Amount to 100%. You more than likely want the grass shading to be different than that of the surface it's attached to, That can be accomplished pretty easily too, look for more detail on that in the 'Working with Fur' page.
Use Hair Shader: When 'Use Hair Shader' is enabled, the specular shading normal is rotated toward the camera creating highlights that run parallel to the fur direction providing an overall more realistic 'hair' type highlight.
Use Irradiance Cache: While the Irradiance Caching options for rendering are quite fast, when rendering fur they can be come quite slow, so by default modo now uses the the Monte Carlo method of Calculating Global Illumination on just Fur overriding the GI settings of the 'Render' item. In some special cases, users may wish to use Irradiance Caching instead, enable this option to do so.
GL Display--
Display Density: In order to speed up the onscreen display, you may wish to view a fewer number of fibers than what will render. The 'Display Density' only affects the number of preview fibers displayed in the 3D viewport.
Set GL Color: When this toggle is enabled, users can use the 'GL Color' option to set the color for the display of the guide hairs visible in the 3D GL viewport. This option is useful in helping to differentiate fibers from other scene elements visually differentiating them from the rest of the scene.
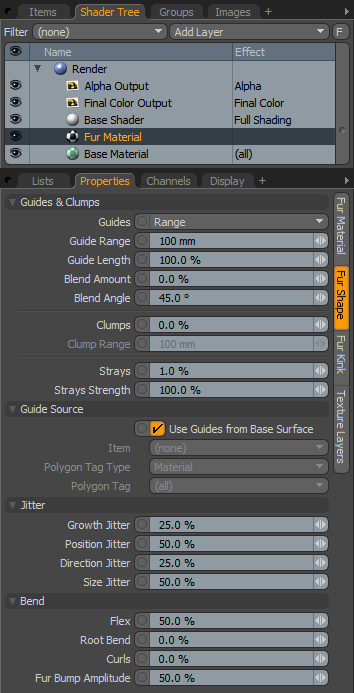 Guides and Clumps--
Guides: Guides for Fur can be created a number of ways. There's more on that on the 'Working With Fur' page as well as on the 'Styling Fur' page of the Sculpting and Painting section. The 'Guides' drop down menu allows the user to choose how guides will affect the fur material--
None-- Guides have no affect on the fur texture.
Clump-- Guides will be used for clumping. Based on the 'Clumps' percentage, fiber tips will clump toward the guides.
Direction-- Guides root direction will set the fiber root direction.
Direction+Length-- Guides root direction will set the fiber root direction and the Fur Length setting works with guide length acting as a multiplier to define the final length. In other words, the length parameter still controls the maximum length, but the guides can control overall variations in length; shorted guides equal shorter fur.
Shape-- Fur will follow the overall shape of the guides.
Range-- With Range selected, the guides basically control fur growth directly. Working with Guide Range and Length, and the Blend settings, you can control the fur for long hair, specialized styling and specific fur rendering effects, such as braids.
Guide Range: When the Guide type is set to 'Range', the 'Guide Range' value sets the effective area around the root of the guide where fibers will be generated. When 'Guide Ranges' overlap, fibers will blend fibers between the two guides based on the blend amount. There is also a small amount of falloff around the guide range border.
Guide Length: The 'Guide Length' setting allows the user to adjust the length of fur generated by guides without the need to edit the guides themselves. A value of 100% would equal the overall guide length, while lower values will reduce the length the appropriate percentage amount.
Blend Amount: When the Guide Range setting creates areas of overlapping fibers, the 'Blend Amount' controls to what degree fibers generated between guides will blend between the two guides positions.
Blend Angle: The 'Blend Angle' sets the maximum angle between two adjoining guides that will create a blend of fibers.
Clumps: When the tips of fibers gather in small groups, it is referred to as clumping. With the guide type set to 'Clump', the greater the value set for Clumps, the more the tips of fibers will tend toward the guides. When there are no guides, the 'Clump Range' setting will determine the area of fibers that will clump together based on the 'Clumps' setting. Higher values will bring the tips into tighter groups while lower values will have less of an effect.
 Fur Clumps 0% |
 Fur Clumps 25% |
 Fur Clumps 50% |
 Fur Clumps 75% |
 Fur Clumps 100% |
Clump Range: The 'Clump Range' sets the average range or area of fibers that will gather together based on the 'Clumps' setting.
Strays: The 'Strays' option randomizes a user specified percentage of fibers to produce a more realistic, random look to fur generated using guides. Also used on fur with 'Clumping', otherwise this setting produces no results. Users can specify the number of fibers affected as a percentage of all fibers, defining the number of fur fibers that will be affected by the 'Strays Strength' value.
Strays Strength: The Stray Strength values determines the amount of randomization applied to the fibers chosen as strays defined as a perlin noise function that deviates the fiber along its length away from the guide. In the case of 'Clumps' this value determines the strength a fiber strays away from the clump group.
Guide Source--
Guides meant to control styling (both combing and length) of fur can be specified by polygon tag and by object. This makes it possible to separate the guides from the surface on which hairs are grown, so users can have a mesh with just the guides controlling the hairs growing on another mesh. Users can also tag the guides for each fur layer which should allow more sophisticated hair styling. Tags can be applied to guides by selecting the curves in 'Polygons' mode and applying the tags same as applying a standard polygon tag.
Use Guides From Base Surface: When this option is enabled, modo will use the guides associated with the surface from which the fur is growing (where guides and polygons are sharing a material tag). When disabled, users can specify specifically tagged guides to control the styling the fur layer. When this option is disabled (toggled off), the next three option become enabled.
Item: When 'Use Guides form Base Surface" is disabled, users can define a guide layer by selecting an 'Item' (layer) that contains guides.
Polygon Tag Type: When 'Use Guides form Base Surface" is disabled, users may select guides based on modo's various poygon tags. Working in the same way users can define surface masks based on modo's polygon tags covered in the 'Material Group' items documentation. Creation of tags is covered in the 'Defining Polygon Tags' page. Once a tag type is determined, useres can use the 'Polygon Tag' option to set the particular defined tag name.
Jitter--
Growth Jitter: The 'Growth Jitter' setting will increase the randomness of a fiber along its length. A setting of 0% will produce straight fibers, while increasing values will produce increasing jagged and random fibers.
 Growth Jitter 0% |
 Growth Jitter 25% |
 Growth Jitter 50% |
 Growth Jitter 75% |
 Growth Jitter 100% |
Position Jitter: The 'Position Jitter' setting will increase the randomness of the root positions of fibers. When creating multi-layered fur, subsequent fiber layer will grow from identical positions. If this is not the intended result, you can increase the "Position Jitter' to eliminate the overlap.
Direction Jitter: The 'Direction Jitter' setting will randomize the angle of rotation for the root of a fiber. Similar to 'Strip Rotation', however 'Direction Jitter' will also randomize a fibers bend direction. A setting of 0% will produce fibers in a uniform direction, values above 0% will increase the randomness of rotations for each fiber.
 Direction Jitter 0% |
 Direction Jitter 25% |
 Direction Jitter 50% |
 Direction Jitter 75% |
 Direction Jitter 100% |
Size Jitter: The 'Size Jitter' setting will randomize the overall scale of each fiber. A setting of 0% will produce fibers of equal size, values above 0% will increase the the random scaling of fibers.
 Size Jitter 0% |
 Size Jitter 25% |
 Size Jitter 50% |
 Size Jitter 75% |
 Size Jitter 100% |
Bend--
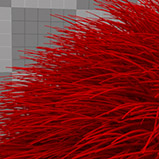
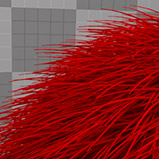
Flex: The 'Flex' setting adds bending or drooping to individual fibers as if affected by gravity. For fibers growing straight up, like grass, a value of 0% would produce perfectly straight fibers, while a setting of 100% would produce a fiber tip that is bent a full 180° from its root. Fibers growing downward would be less affected by this setting. In order to produce smooth bend results, it may be necessary to increase the number of 'Segments'.
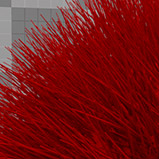 Flex 0% |
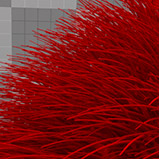 Flex 25% |
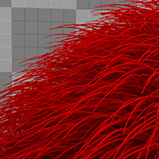 Flex 50% |
 Flex 75% |
 Flex 100% |
Root Bend: With a "Root Bend' value of 0%, the root direction for a fiber is based on the direction of the corresponding smoothed polygon normal, simply stated this means whatever direction a polygon is facing, the fiber will grow from that surface in the same direction. Increasing this value will rotate the root, altering the growth direction for the fiber. A setting of 100% would produce a fiber that grows perpendicular to the normal, a rotation of 90 degrees.
 Root Bend 0% |
 Root Bend 25% |
 Root Bend 50% |
 Root Bend 75% |
 Root Bend100% |
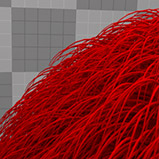
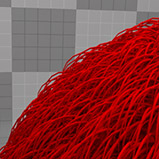
Curls: Increasing the 'Curls' setting will add corkscrew type swirl to fibers. Small values will appear as if fiber are slightly wavy, while greater values will increase the effect creating tight overlapping swirls.
 Curls 0% |
 Curls 25% |
 Curls 50% |
 Curls 75% |
 Curls 100% |
Fur Bump Amplitude: The 'Fur Bump Amplitude' setting controls the strength of influence a texture layer assigned to the layer effect 'Fur Bump' has over the 'Root Bend' and 'Flex' direction of the fur, effectively controlling the growth direction. Similar in function to the Fur Direction controller used for combing fur, however a Fur Bump layer can be an arbitrary image map or procedural texture, controlling the direction much like a bump map perturbs the surface rays simulating bumpy surfaces.
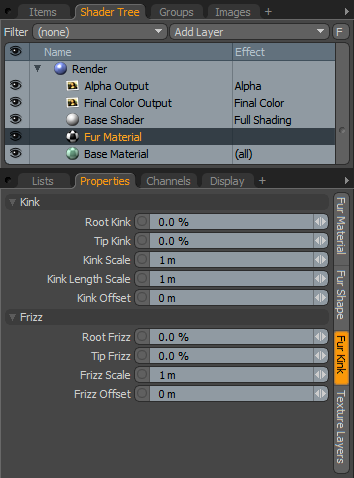 Fur Kink
Kink--
Based on a noise modifier, the Kink effect will apply a chaotic twisting to the individual fibers, making them look what would be described as 'Tangled'. The detail introduced is dependant on the number of segments in the fiber, higher segments will produce more detailed results, but also require additional memory and time to render.
Root Kink: The 'Root Kink' value determines the chaotic twisting to the fiber fading from the Tip and increasing in strength toward the Root. Being at the base this will affect the fibers direction, much like jitter does. (Samples Below)
Tip Kink: The 'Tip Kink' value determines the chaotic twisting to the fiber fading from the Root and increasing in strength toward the Tip. (Samples Below)
Kink Scale: The 'Kink Scale' value determines the size of the noise that produces the kinks. Smaller values will have a more dramatic tangled look, and larger values will look less tangled.
Kink Length Scale: The 'Kink Length Scale' determines the scale of the Kink along the length of the individual fiber, large values can be made to look more like waves.
Kink Offset: The 'Kink Offset' value can be used to animate the noise, for example to simulate a grass field blowing in the wind.
Root Kink--
 Root Kink 0% |
 Root Kink 25% |
 Root Kink 50% |
 Root Kink 75% |
 Root Kink 100% |
Tip Kink--
Tip Kink 0% |
 Tip Kink 25% |
 Tip Kink 50% |
 Tip Kink 75% |
 Tip 100% |
Frizz--
The Frizz effect will apply a somewhat random waviness to the individual fibers, making them look what would be described as 'Messy'. The detail introduced is dependant on the number of segments in the fiber, higher segments will produce more detailed results, but also require additional memory and time to render.
Root Frizz: The 'Root Frizz' value determines the amount of random waviness to the fiber fading from the Tip and increasing in strength toward the Root. Being at the base this will affect the fibers direction, much like jitter does.
Root Frizz 0% |
 Root Frizz 25% |
 Root Frizz 50% |
 Root Frizz 75% |
 Root Frizz 100% |
Tip Frizz: The 'Tip Frizz' value determines the amount of random waviness to the fiber fading from the Root and increasing in strength toward the Tip.
Tip Frizz 0% |
 Tip Frizz 25% |
 Tip Frizz 50% |
 Tip Frizz 75% |
 Tip Frizz 100% |
Frizz Scale: The 'Frizz Scale' value determines the size of the waviness applied to the fibers. Smaller values will produce finer waves, while larger value will increase the size of the waves.
Frizz Offset: The 'Frizz Offset' value can be used to animate the noise, for example to simulate a grass field blowing in the wind.
Texture Layers
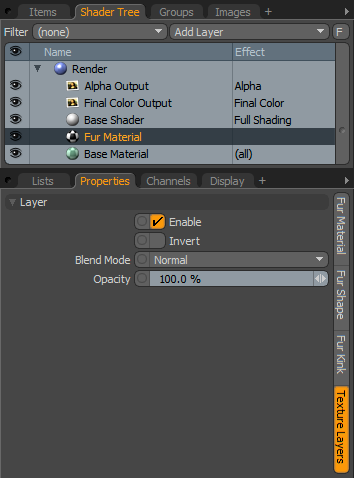 Layer--
Enable: Toggles the effect of the layer on and off, duplicating the functionality of toggling visibility in the Shader Tree. When un-checked (disabled), the layer has no effect on the shading of the scene. However, disabled layers are saved with the scene and are persistent across modo sessions.
Invert: Inverts the RGB values for the layer producing a negative effect.
Blend Mode: Affects blending between different layers of the same effect type, allowing user the ability to stack several layers for different effects. For more on blending, please reference the 'Blend Modes' page of the documentation.
Opacity: Changes the transparency of the current layer. Reducing this values will increasingly reveal lower layers in the shader tree if present, or dim the effect of the layer itself on the surface.

